
Overview
AgentX is a Chrome extension by Opoint Technology that integrates Opoint’s indexation into the browser.
By cross-checking information from the current version of the page you are visiting with Opoint’s databases, it allows you to check if the contents Opoint has saved (and perhaps delivered to you) are up to date.
If you find that an article has been updated since Opoint saved it, you can choose to re-index it so that you and many others can have access to the newest of the news.
In case you find that an article has not been caught by our software or has been caught with errors, you can also choose to make any necessary corrections and save the updates to our database.
With AgentX, you can identify issues that might be affecting your News Alerts and fix them in a matter of seconds.
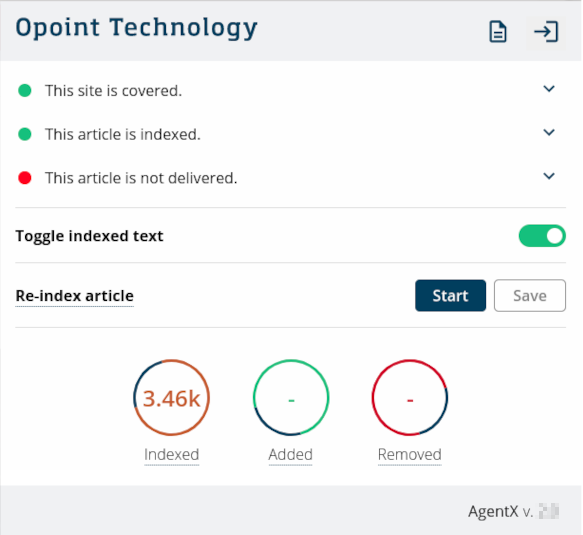
AgentX’s mission
AgentX is sent into the world to make the life of Opoint customers easier.
When sending a bug report, you would need to identify whether the problem is on your end or ours, and manually collect information about both the article and the website. With AgentX, you will be able to identify errors almost immediately. Once you find what is wrong, you can quickly fix any issues and even send yourself a new corrected version of the article.1 No waiting for a bug report to be handled.
How it works
When you access a webpage and open the AgentX extension, you get access to all of AgentX’s power with a few clicks.
In the image below, you can see the main functionalities enumerated. Check the description below it for clarification.
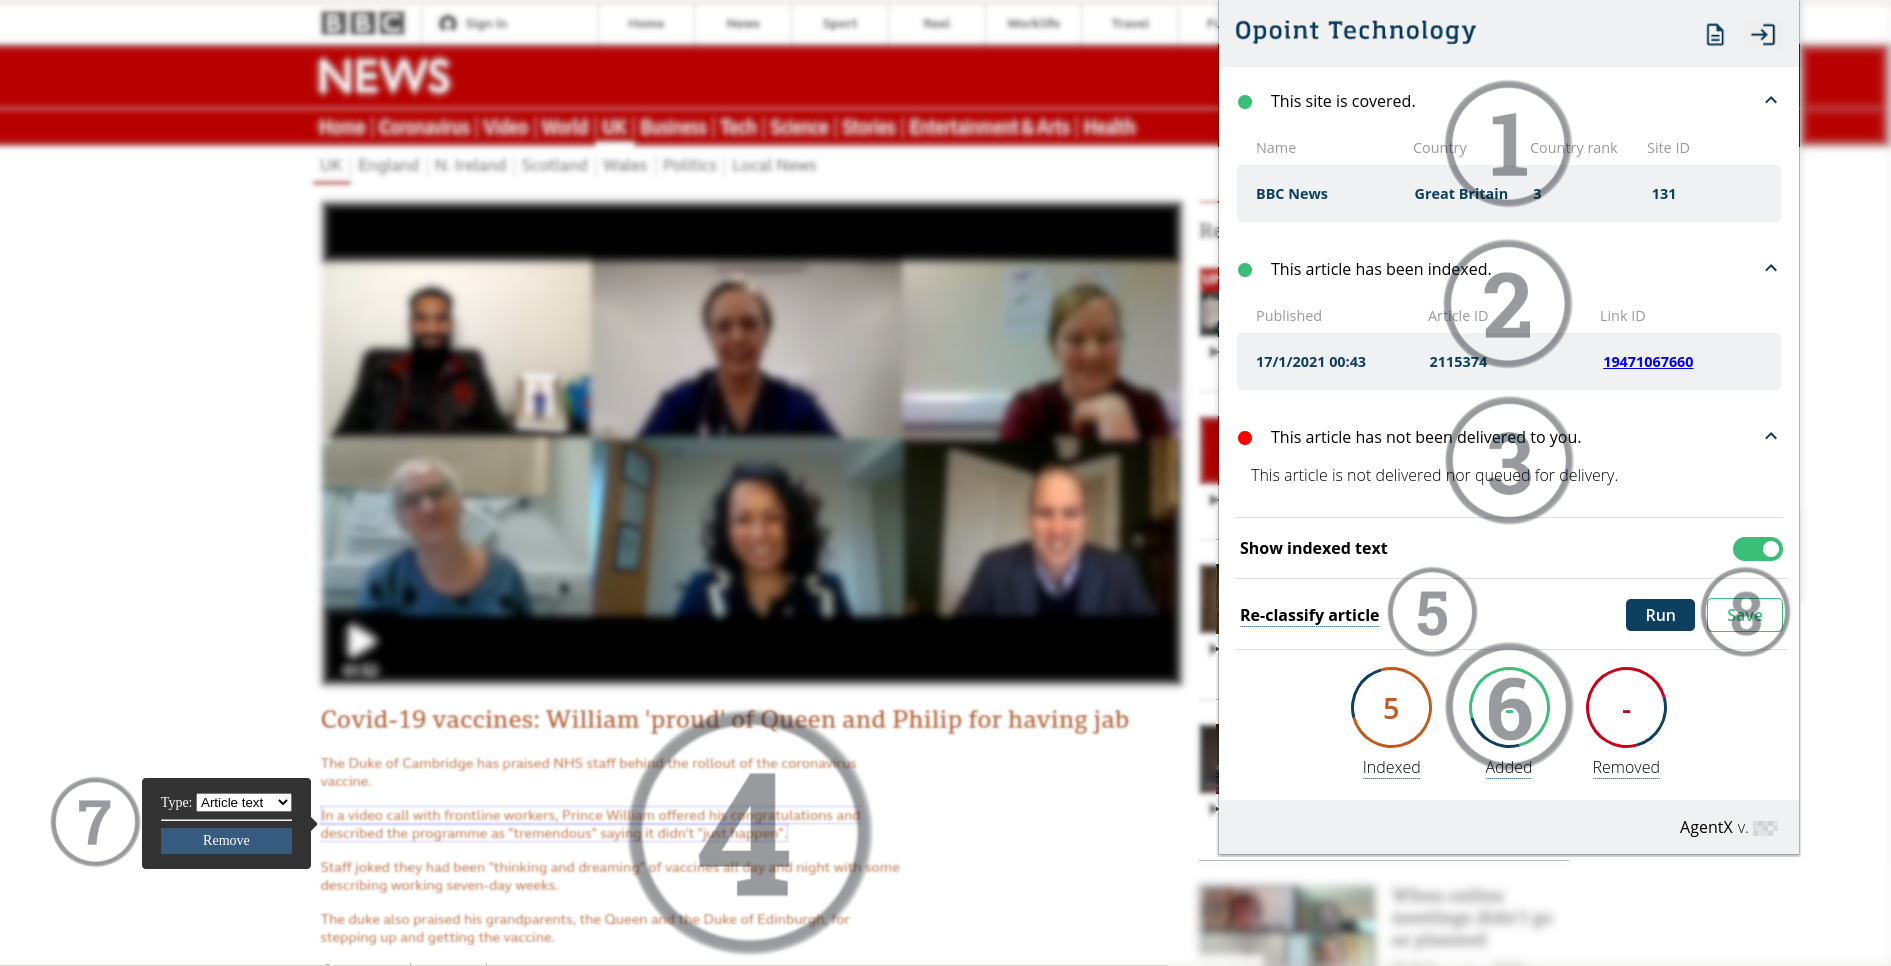
AgentX:
- checks if Opoint monitors the domain and fetches its information,
- checks if Opoint has indexed the page as an article and retrieves its information,
- checks if the article has been or will be delivered to the user,
- gets the indexed article text from the database and highlights what Opoint has stored,
- If the article is not found, AgentX allows you to add it.
- allows you to re-index the article if you find any errors,
- shows information about how many characters are already in our database and, in case of re-indexation of the article, how many characters will be added/deleted upon saving,
- lets you change the segmentation (i.e. define if something is a title, a caption, part of the main text, etc.),
- offers you the option to save the new article classification, replacing the previous version
- allows you to request the re-delivery of an article, either because you want a new copy or because it has been updated1.
Installing and running AgentX
Get AgentX from the Chrome Web Store.
You need to log into AgentX using your Opoint username and password in order to access AgentX’s functionalities.

Forgot your password?
If you have forgotten your password, you cannot yet use AgentX to reset it. Instead, visit Opoint’s password reset page
Log-out
To log out of the extension, click on the button at the top left corner of the dialog box.
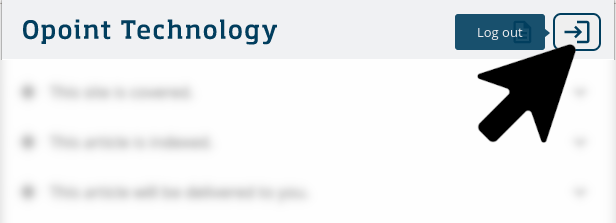
Once you have logged out, you will no longer have access to AgentX’s functionalities.
Webpage analysis
AgentX inspects the page you are currently on to tell you
- whether the website in question is covered by Opoint,
- if the page you are on is indexed as an article,
- if said article has been or will be delivered to you.
Website coverage
Opoint tracks over 180,000 domains across the globe.
Covered websites
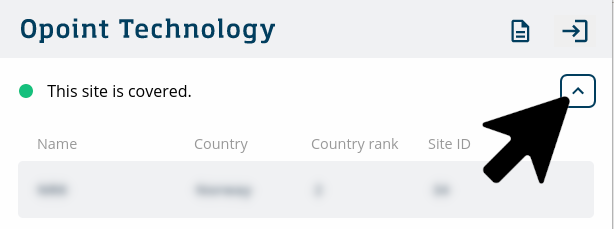
When you open a website tracked by Opoint, you will see a green dot with the message “This site is covered.”
If you are on the home page of the website, or on a section that displays several articles, you will see section information. This includes information about which section you are in, as well as how often a website is scanned and when the last scan was performed. This is an experimental feature.
![Section information Section information displays: “This is a section of \[website name blurred\] that we cover. Last scan 6 minutes ago; Section \[section name blurred\]; Scanned every 12 minutes”](./images/Index_page.png)
When you open an article on a website tracked by Opoint, the first row will report whether the website is covered.
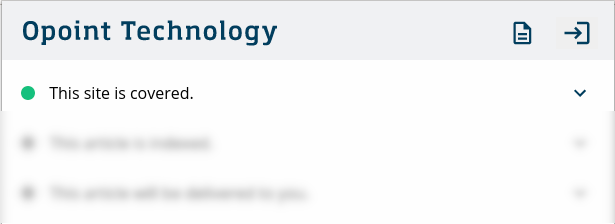
You may see additional details regarding the website by pressing on the arrow to right of the first row. Information regarding the name of the news provider, the country it is from, and its rank and ID in our databases, will become visible.
Not covered websites
If the website in question is not tracked, the dot will be red and be followed by the message “This site is not covered”.

In the future, you might be able to request that Opoint starts tracking the website from within AgentX.
Article indexation
Opoint’s databases contain over 8 billion articles indexed. AgentX checks if the page you are in is registered as one of them.
Only websites covered by Opoint will have their articles indexed.
Indexed articles
If the page you are visiting contains an indexed article, you will see a green dot with the message “This article has been indexed”. 2
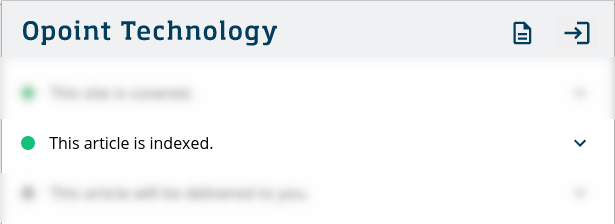
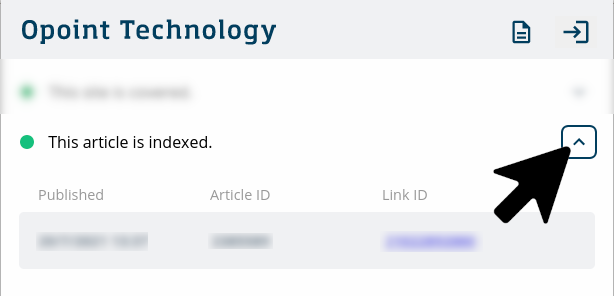
You may also see more details about the article, including the date it was published, its ID and the article link’s ID in Opoint’s databases.
To view this information, click on the second arrow on the right. The extra details will become visible.
Not indexed articles
If you are viewing an article that is not indexed, but the website where it was published is tracked by Opoint, you will be given the option to scan it and then save it to our databases.
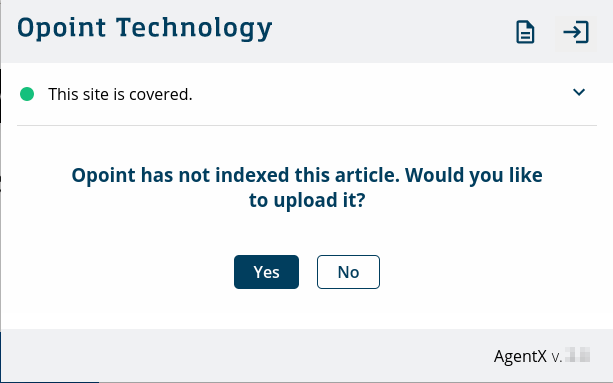
To initiate the indexation process of an untracked article, press “Yes” when asked whether you would like to upload it.
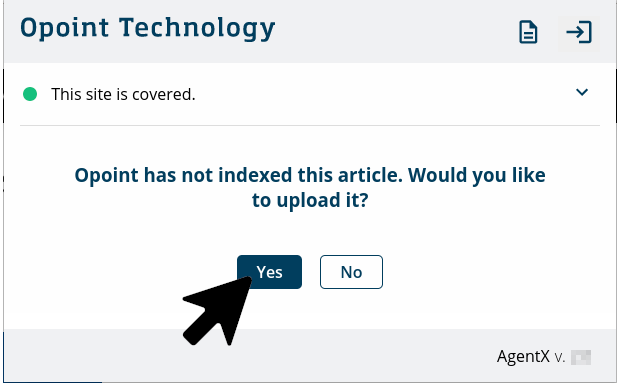
Opoint’s software will then scan the page and mark the text according to its color code. Check that it has been correctly indexed.
To make any modifications, follow the steps under manual changes.
Once you are satisfied with the result, press “Save”.
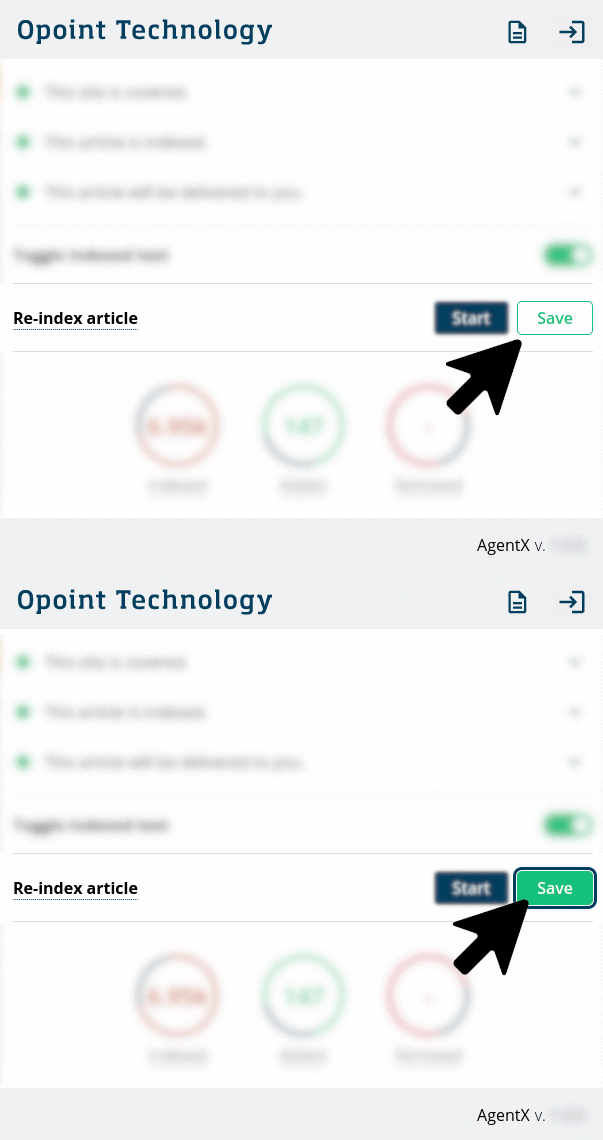
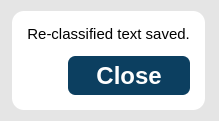
You will then see a confirmation message.
Note that manually indexing an article will not automatically trigger a delivery. See Re-delivery for information on how to get an article delivered.
Your changes will not be sent to Opoint’s database if you do not press “Save”
If the website is not covered by Opoint, you cannot request to index the article. This feature may be included in the future.
Article delivery
AgentX is connected to your Opoint account. This means it can check whether a certain article has been delivered to you, or if it is in the queue.
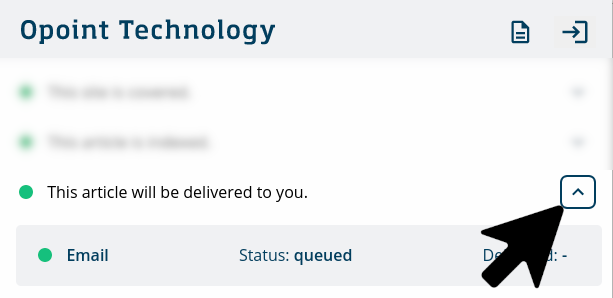
The article delivery section is marked by a green dot when an article has been delivered to you, or when the article is in the queue.
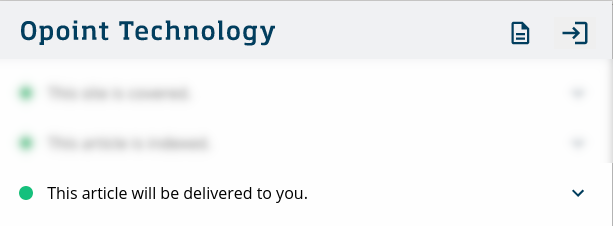
For more details, you can press the third arrow on the top right. If the article has been or will be sent to you, you will see through which channel (Email, FTP pusher or SafeFeed) this action is performed (on the left), its status (centre) and the delivery time (on the right).
Note that the delivery time is only available if the article has already been delivered.
Re-delivery
If your delivery channel is SafeFeed, you might be able to manually trigger the re-delivery of articles.
To request re-delivery, you must have previously received the article in order to request a re-delivery.
If you have already received the article on your SafeFeed, the circular re-delivery arrow will be available on the delivery information panel, immediately to the right of the word “SafeFeed”. Press it to initiate the re-delivery process.
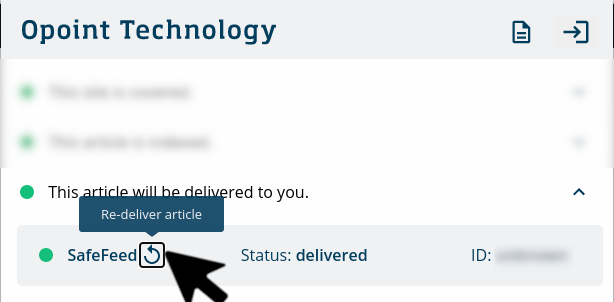
Once the re-delivery request is processed, you will be informed of its status. If it is successful, you will also see the delivery ID for the article in question.
![SafeFeed re-delivery confirmation Confirmation message says “The article was delivered through your SafeFeed with the id: \[id blurred\]](./images/Safefeed_redelivery_success.png)
To return to the main panel of AgentX, press the “Close” button underneath the message.
Paywalled websites
Opoint covers several websites that include a paywall.
Paywalls come in different shapes and forms. Some obscure all the content, others show you the first few paragraphs and then blur the remainder of the article. Some websites paywall articles dynamically, allowing the user to see a certain number of articles per day, while others clearly separate publicly available and paywalled articles, never displaying a paywalled article to a non-paying user.
Our solution to this problem is to compare what you can see on screen with what is available in Opoint’s databases. If you cannot see a significant part of what we have stored, then we will consider that there is a paywall.
If we identify a paywall, you will not have access to any article information.
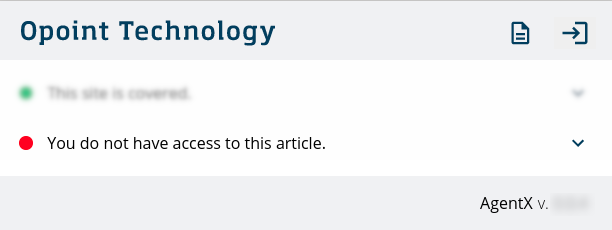
Note that we see what you see. If you are logged in and see a paywalled article, AgentX will see it. Otherwise, it won’t.
We do not use credentials you stored in your computer or with Opoint.
Article indexation
The bottom half of AgentX shows article indexation information.
Opoint indexes articles and saves them into its databases. This means that a webpage is run through an AI-powered tool which identifies what elements are a part of the article and which ones are not.
What is more, this algorithm identifies whether a sentence/paragraph is a caption, the article’s title, part of its main text and so on. It also includes article images.
If you want to change how an article is indexed, see Adding or changing an article.
Show indexed text
The “Show indexed text” toggle allows you to choose whether you want AgentX to add highlights to the page you are visiting, showing the parts of the article that have been indexed. By enabling it, you will see the color-coded text. To see the article in its original form, disable it.
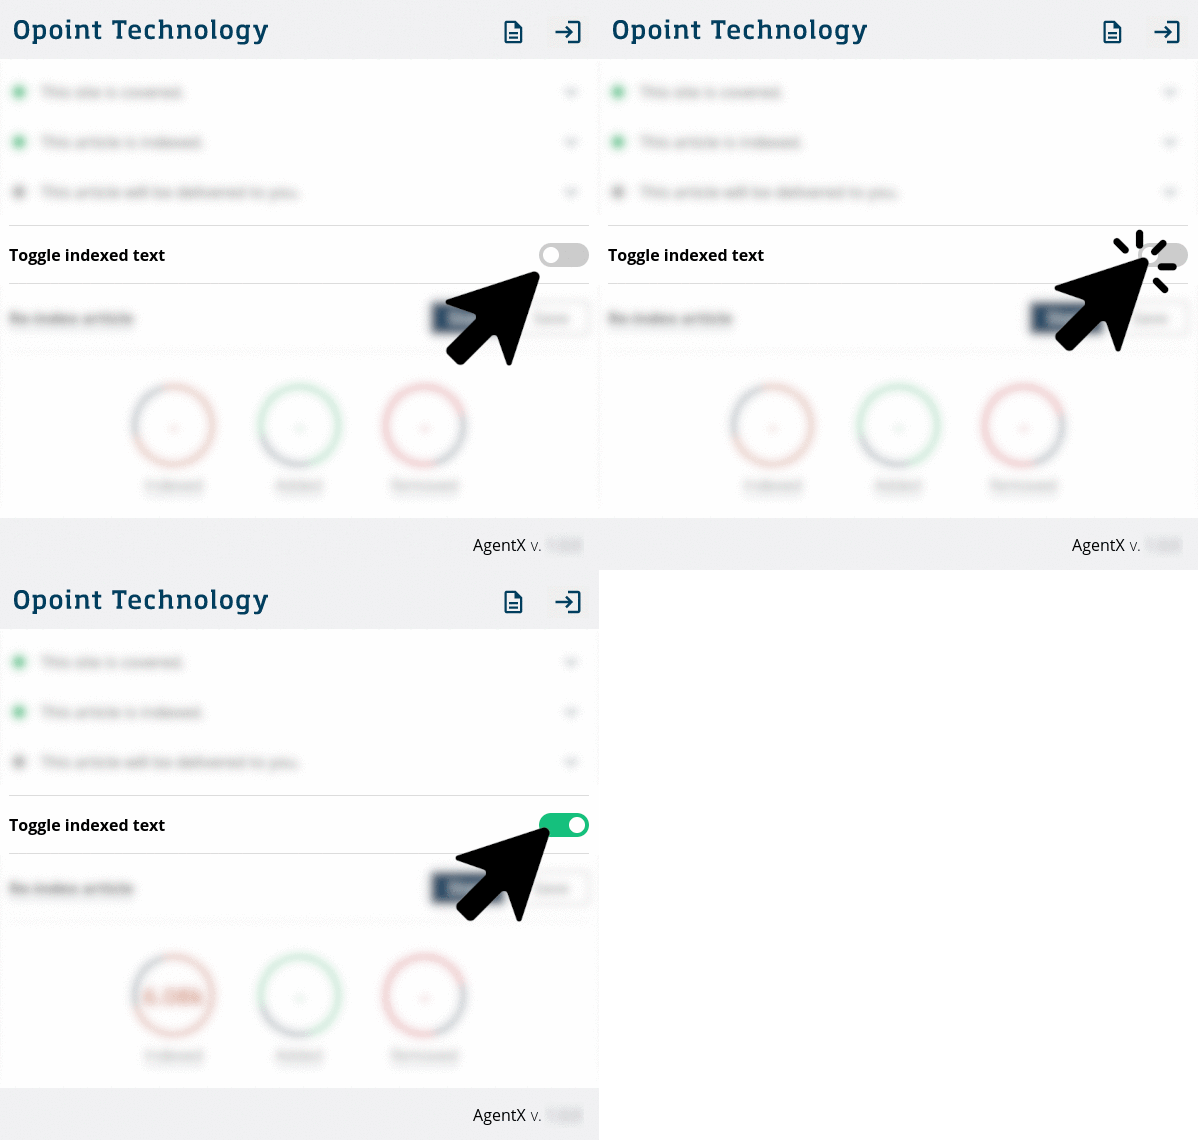
When this function is deactivated, the toggle will be gray and the circle will be positioned on the left. If it is activated, the toggle will be green and the circle will be placed on the right.
Change report
The last section of the AgentX extension displays information about the content indexed, and any changes made by the user. It contains three circles:
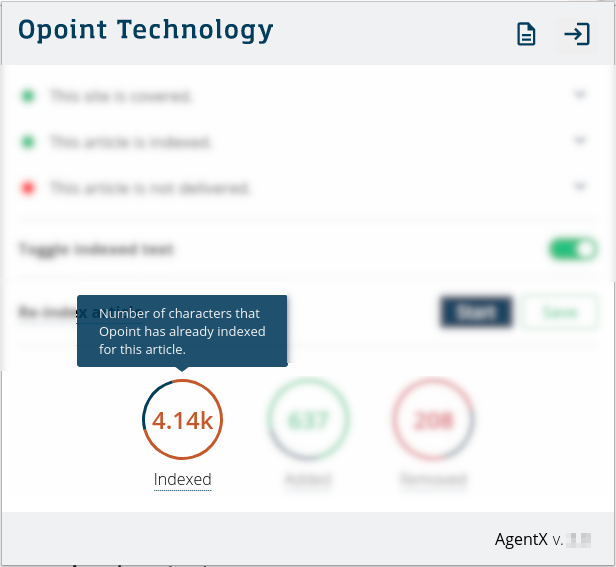
- Indexed (left, golden brown): indicates the number of characters that have already been added to our database;
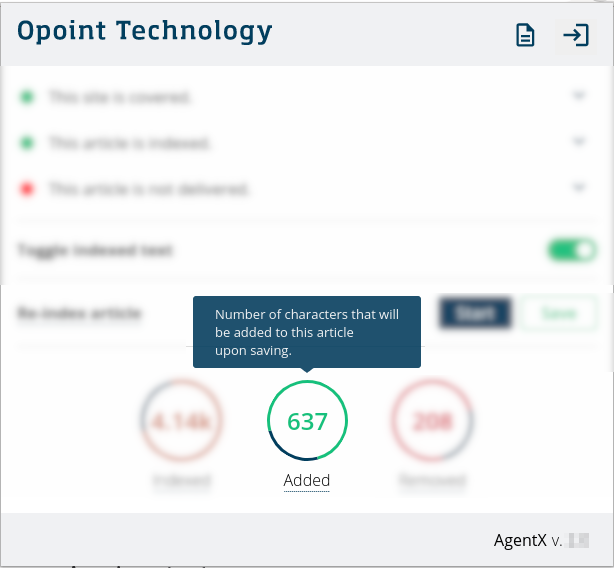
- Added (center, green): shows the number of characters (if any) that will be added to our index upon “Save”.
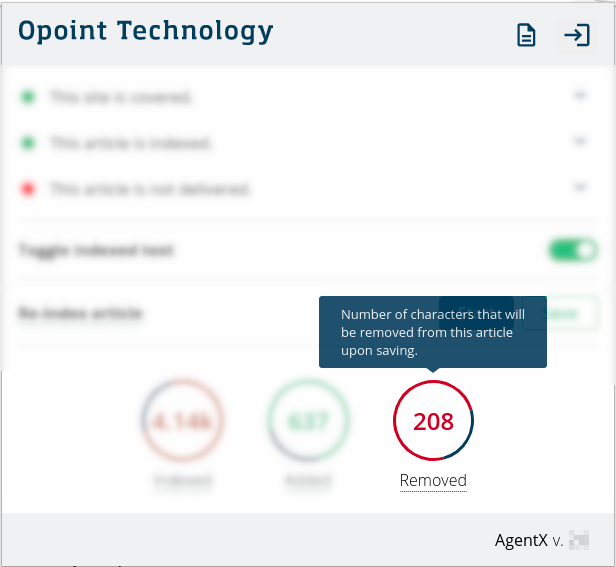
- Deleted (right, red): indicates the number of characters (if any) that will be deleted to our database upon “Save”.
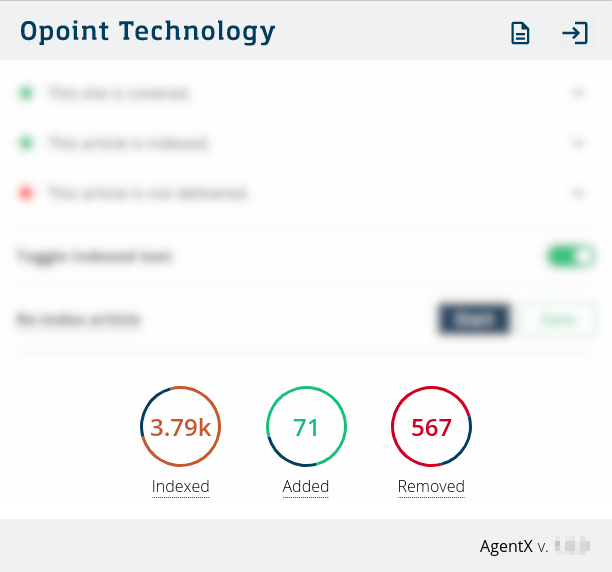
If you have not re-classified the article, you should see empty “Added” (center) and “Removed” (right) circles, with a number only in the “Indexed” (left) circle.
You may also hover over the circles for more information.
Adding or changing an article
You may find that an article is incorrectly indexed in Opoint’s databases, or that it has been missed altogether. This is AgentX’s core functionality: allowing you to fix articles.
Adding a new article
If you are on a website covered by Opoint and you find an article that was not indexed, you can manually index it. For instructions on how to do so, go to Not indexed articles.
Note that manually indexing an article will not automatically trigger a delivery. See Re-delivery for information on how to get an article delivered.
Re-index article
Re-indexing an article means re-sending it for analysis by Opoint’s software.
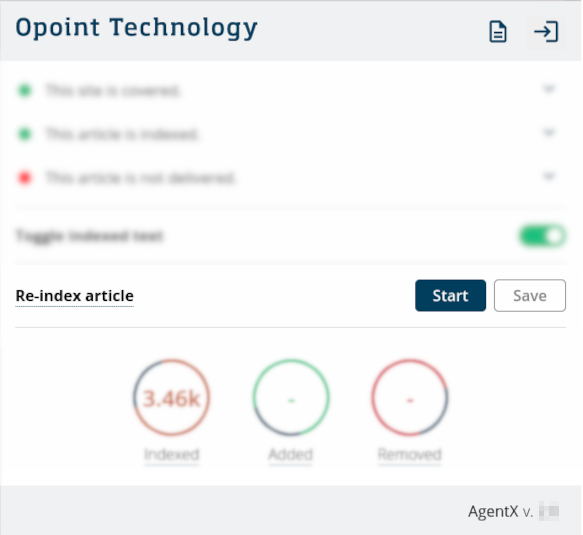
Press “Start” on the “Re-index article” section.
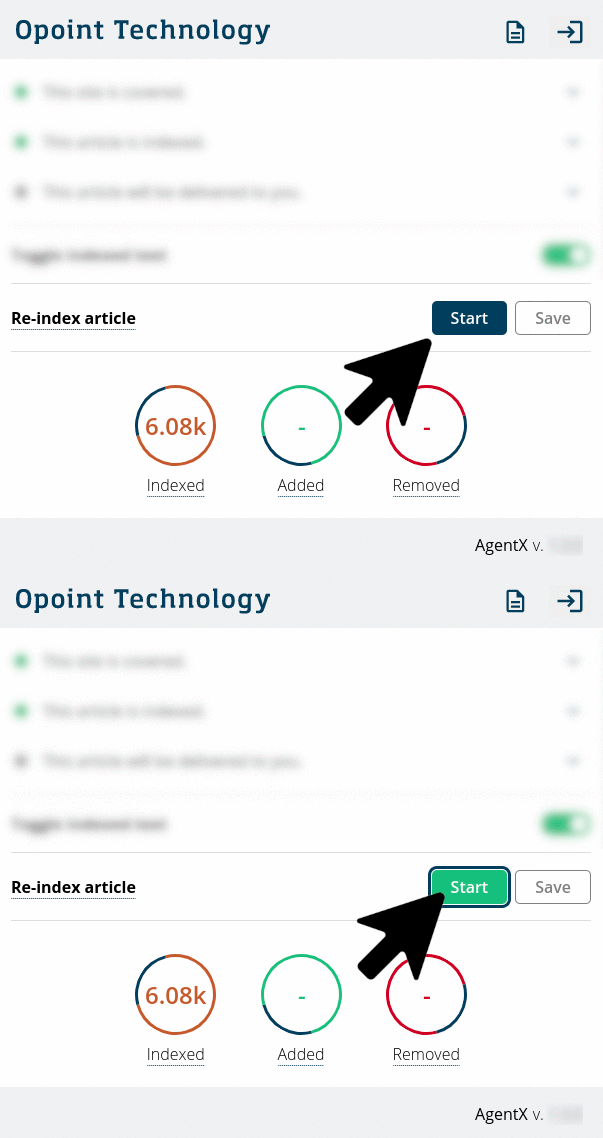
If you want to make any additional changes, follow the steps under manual changes.
When you are satisfied with the result, press “Save”.

You will then see a confirmation message.

Note that re-indexing an article will not automatically trigger a delivery or re-delivery. See Re-delivery for information on how to get an article delivered.
Your changes will not be sent to Opoint’s database if you do not press “Save”
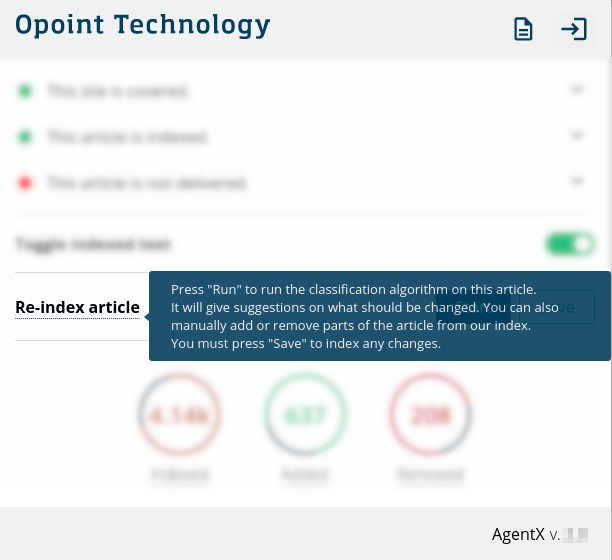
To see instructions about re-indexation, hover over (or focus with your keyboard on) the words “Re-index article”. A tooltip will give you the information also contained on Article is incorrectly indexed;
Manual changes
After the re-classification algorithm is run on an article, you might still see errors. AI can only go so far, so you might see that it missed some sections, incorrectly labelled data or included text and images that do not belong to the article. So you can help fix these machine errors by make changes manually.
Adding content and changing segmentation
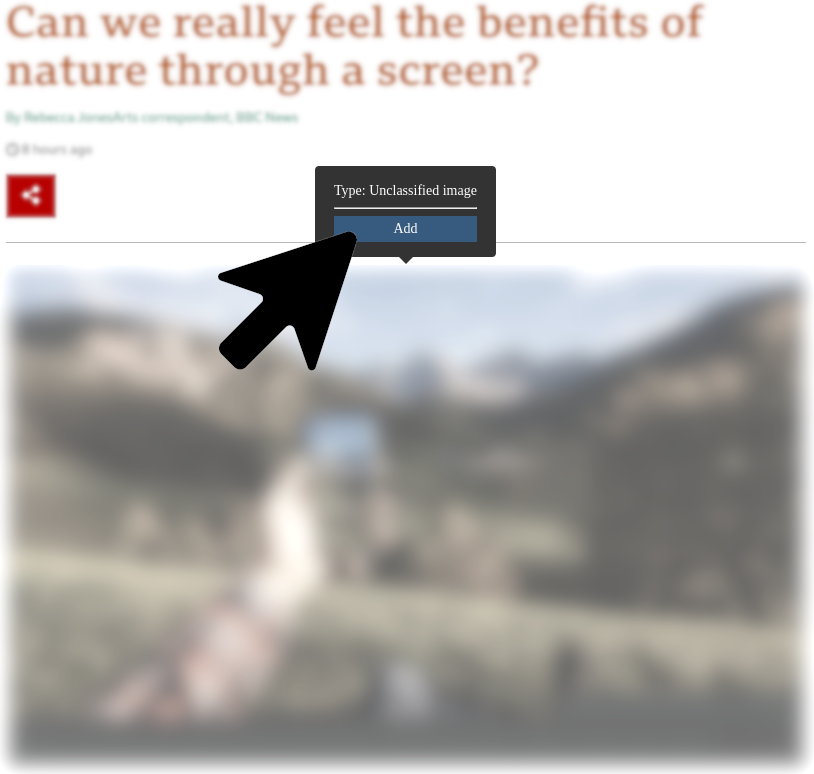
Whether you want to add content (text or image) to the indexation or edit how it is segmented (i.e. classified), you first need to click on the content in question. A black selector box will then pop up.
If the content you are adding is an image, press on the “Add” button.
If the content is text, select the correct category among the following:
- Title

Deleting content
To remove content (text or image) from the index, click on it and black selector box will appear. You will then have two options:
- Selecting “Excluded” on the dropdown menu (text only)

- Pressing the “Remove” button (text and image)


Why can’t I make changes?
Have you been informed that you cannot make changes to an article?
![No permission to make changes Status page with message “You do not have the permission to make these changes. The error was reported and support will correct the article.” [Why? link leads to this section]](./images/Forbidden403.png)
As a safety measure, Opoint limits how much you can remove from an article. If you try to remove more than what is allowed, support will be notified that the article needs to be fixed.
No information about you is collected in this process, only about the article.
There is no limit to how much you can add.
Color code
When “Toggle indexed text” is active, AgentX will color-code an article’s contents according to the following scheme:
- Brown: Content is indexed and present on the article you are viewing
- Pale brown: Content is indexed (in Opoint’s database) but no longer available on the page
- Green: Content will be added to the index when saved
- Red (strikethrough): Content will be removed from the index when saved (removed by the algorithm)
- Brown (strikethrough): Content will be removed from the index when saved (removed by the user)
- Black (unchanged): Content is not affected by the index. It is not present and will not be added.

This solution currently relies solely on color identification. Accessible solutions are currently being researched and might be implemented on a future version.
Accessing the documentation
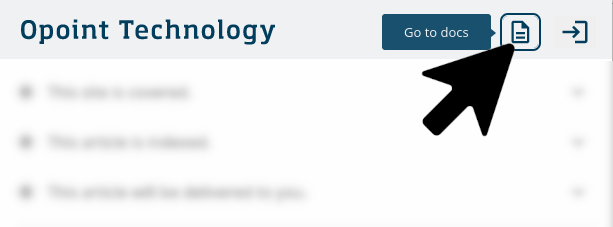
If you need to come back to this documentation, you can press the document icon on the top right of the extension.
Privacy
AgentX collects data for monitoring and statistics purposes only.
Examples of uses of such data are:
- Identifying articles and websites that are often modified
- Measuring the time of article re-indexation
- Identifying articles which were not picked up by Opoint’s automatic indexation system
- Measuring number of active users of the application
All information is processed and used exclusively within Opoint and its customer support provider. No data is sold to or processed by others.
If you do not wish to have your data collected, contact support@opoint.com.
-
The re-delivery functionality is experimental, and is currently only available for SafeFeed users. ↩︎
-
You will only see the information to an article if AgentX identifies that you have access to it. For more information, see Paywalled Websites ↩︎